OverviewThe following pages cover the step by step instructions on how to solder the Rev F PCB. (NOTE: The PCBs in the example pictures and videos are a prototype
version of the PCB and were mistakenly labeled Rev Ee)
Click the images to zoom in. All the construction example videos from these pages are also available on YouTube. Some good intro to soldering videos can be found at curiousinventor.com and also at sparkfun on YouTube (some of the videos may be upside down on this website).
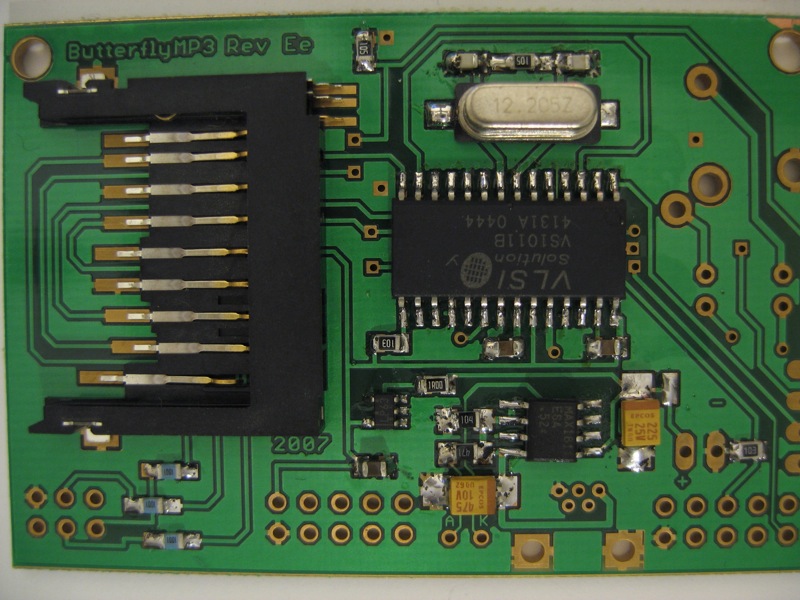
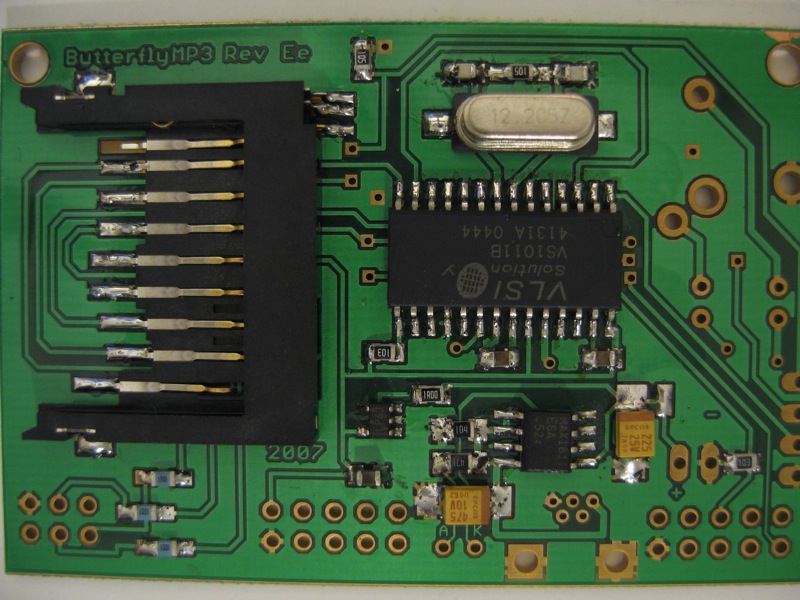
8 - MMC1 SDAMB-01215BT00
The photos above show the placement and soldering of the SD/MMC card socket. The socket has two small pegs on the bottom to ensure correct orientation and to act as strain relief when inserting and removing the card. When positioning this component on the PCB you should turn the board over to check the pegs are fitted correctly in the holes provided (photo 8b). With the pegs to hold this component in position simply solder each of the pins to the board (making sure not to miss one as I have in the video below). I recommend starting with one of the middle pin as it they are easy to get to without bumping the component. Once these are in place I solder the large ground tabs on either side. These pads are designed to take some of the strain of inserting and removing cards in addition to the two pegs going through the PCB. I like to use plenty of solder on these two tabs to ensure a solid connection to the PCB. The last connections are the three switch connections on the opposite end of the socket. These three connections are not connected electrically as they are not used but I like to solder them to improve the physical strength of the socket. They are normally used (in other designs) to detect the presence of the card and the position of the write protect switch on SD cards. Once you've soldered all the connections it is a good practice to go back and count the pins and make sure you have soldered them all. As you can see in the video below and photo 8c above I managed to forget pin 1.
|